Video doorbells have become an increasingly popular addition to home security systems, providing convenience and peace of mind. To fully utilize the features of your video doorbell, it’s essential to connect it to your WiFi network.
This step-by-step guide will walk you through connecting your video doorbell to WiFi, ensuring a seamless and secure connection.
Step 1: Choose a Compatible Video Doorbell:
Ensure that your video doorbell is compatible with WiFi connectivity. Check the manufacturer’s specifications or consult the user manual to confirm compatibility with your home network.
Step 2: Install the Mobile App:
Most video doorbells require a dedicated mobile app for setup and configuration. Download the app from the App Store (iOS) or Google Play Store (Android) and install it on your smartphone or tablet.
Step 3: Create an Account:
Launch the app and follow the instructions to create an account. Provide the necessary information, such as your email address and password, to create a secure account for accessing your video doorbell’s features.
Step 4: Power Up the Doorbell:
Connect your video doorbell to a power source according to the manufacturer’s instructions. Depending on the model, this may involve hardwiring it to your existing doorbell wiring or using a rechargeable battery pack.
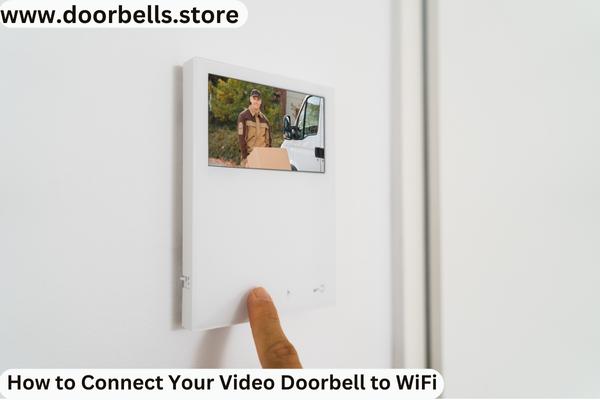
Step 5: Put the Doorbell in Setup Mode:
Typically, video doorbells have a setup mode that allows them to connect to WiFi networks. Activate the setup mode by pressing the designated button or following the instructions provided by the manufacturer.
Step 6: Connect to WiFi:
On your smartphone or tablet, go to the device’s settings and access the WiFi settings. Look for the network name (SSID) provided by the video doorbell. Select the doorbell’s network and enter the corresponding password when prompted.
Step 7: Return to the Mobile App:
Return to the mobile app once your smartphone or tablet is connected to the video doorbell’s network. The app will guide you through the remaining steps of the setup process.
Step 8: Configure Doorbell Settings:
Within the app, you can customize various settings, such as motion detection sensitivity, notifications, and recording preferences. Adjust these settings according to your preferences and needs.
Step 9: Test the Connection:
After completing the setup and configuration, test the connection between your video doorbell and the mobile app. Ensure you receive live video feeds and notifications when someone approaches your door.
Step 10: Mount the Doorbell:
Once you have verified the successful connection, follow the manufacturer’s instructions to mount the video doorbell securely in the desired location. Ensure that it has a clear view of the entryway and is positioned at an appropriate height.
Conclusion:
By following these ten steps, you can easily connect your video doorbell to your WiFi network, enabling you to take full advantage of its features. Remember to choose a compatible video doorbell, install the mobile app, create an account, power up the doorbell, put it in setup mode, connect to WiFi, configure settings, test the connection, and mount it securely.
With your video doorbell connected to WiFi, you can enhance your home security and enjoy the convenience of remote monitoring and control from your mobile device.