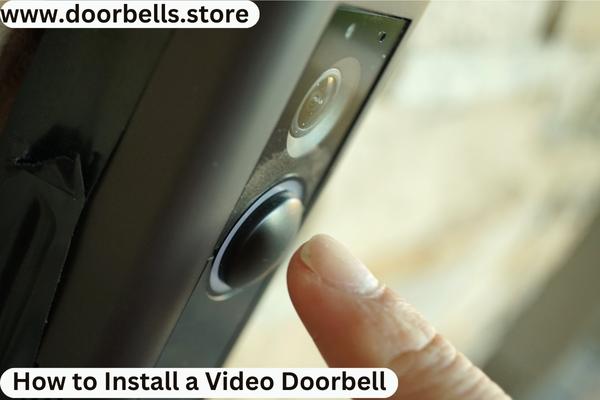
Video doorbells have become increasingly popular as they provide an added layer of security and convenience to homes.
These smart devices allow you to monitor and interact with visitors at your door from anywhere using your smartphone or other connected devices.
If you’re considering installing a video doorbell, this article will guide you through the step-by-step process, ensuring a successful installation and optimal functionality.
1. Choose the Right Video Doorbell:
Before beginning the installation process, select a video doorbell that suits your needs and preferences. Consider factors such as video quality, field of view, motion detection capabilities, two-way audio,
and compatibility with your existing home security system or smart home devices. Read product reviews and compare different models to make an informed decision.
2. Check Power Requirements:
Video doorbells typically require a power source. Determine if your chosen doorbell operates on battery power, hardwired power, or a combination of both. Battery-powered models are easier to install but require periodic battery replacements or recharging.
Hardwired options draw power from your existing doorbell wiring, providing continuous operation without the need for battery maintenance.
3. Tools and Materials:
Gather the necessary tools and materials before starting the installation. Typical items include a screwdriver, drill, drill bits, screws, wire strippers, voltage tester, and a ladder if needed.
Refer to the specific instructions provided by the doorbell manufacturer for any additional tools or materials required.
4. Turn Off Power:
If you’re installing a hardwired video doorbell, ensure your doorbell’s power supply is turned off at the breaker box. Use a voltage tester to verify that the power is indeed off before proceeding. This step is crucial for your safety during the installation process.
5. Remove Existing Doorbell:
If you have an existing doorbell, remove it carefully. Disconnect the wires from the doorbell chime or transformer. Take note of the wire connections and their corresponding colors, as you will need to reconnect them to the new video doorbell later.
6. Mount the Video Doorbell:
Follow the manufacturer’s instructions to mount the video doorbell to your door frame or wall. Use a level to ensure it is properly aligned. If necessary, drill pilot holes before securing the mounting bracket with screws. Double-check the mounting stability to ensure the doorbell is securely attached.
7. Connect the Wires:
If you’re installing a hardwired video doorbell, reconnect the wires to the appropriate terminals on the back of the doorbell. Typically, there will be labeled terminals for the power source, chime, and ground.
Strip the wire ends if necessary and secure them tightly in place. Ensure that the wires are connected correctly to avoid any issues during operation.
8. Install and Set Up the App:
Download the corresponding app for your video doorbell on your smartphone or tablet. Create an account if required and follow the app’s instructions to connect the doorbell to your home Wi-Fi network. This step is crucial for remote access and receiving notifications on your mobile device.
9. Customize Settings:
Once the video doorbell is connected to the app, customize the settings according to your preferences. Adjust motion detection zones, sensitivity levels, and notification preferences.
Some doorbells offer additional features like video recording, cloud storage, and integration with other smart home devices. Explore these options and tailor the settings to suit your needs.
10. Test the Doorbell:
After completing the installation and app setup, it’s essential to test the functionality of your video doorbell. Have a friend or family member ring the doorbell while you monitor the live video feed and test the two-way audio communication. Adjust settings as needed to optimize performance and ensure a seamless user experience.
Conclusion:
Installing a video doorbell can enhance the security and convenience of your home. By carefully selecting the suitable doorbell, checking power requirements, gathering the necessary tools, and following the step-by-step installation process,
you can successfully install and set up your video doorbell. Remember to handle electrical connections safely, customize settings to your preferences, and test the functionality before relying on it for your home’s security.
Enjoy the added peace of mind and convenience that a video doorbell provides, allowing you to monitor and interact with visitors at your door from anywhere, at any time.
